Using your new wet tile cutter
- 16 April 2024
- 0 Comment(s)
Getting started with your new Wet Tile Cutter is easy. Listed below are the different types of cuts you can do at home using your versatile wet saw. Simply follow the step-by-step instructions to learn how to cut tiles like a professional in virtually no time…
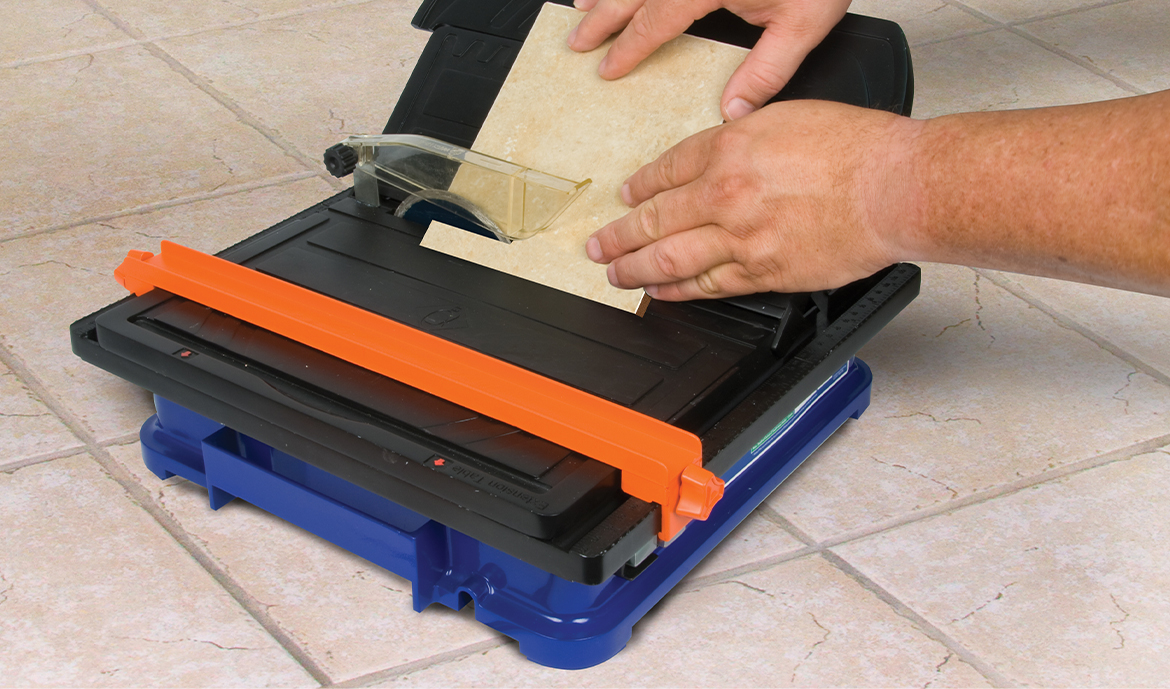
1. Straight Cuts & Corners
Adjust cutting guide to desired setting
NOTE: Use the ruler below the cutting surface to determine size of cut
Set the tile along the cutting guide
Hold tile firmly and slide it through the cutting blade, do not force the tile
2. Angles
Adjust cutting guide to desired setting
NOTE: Use the ruler below the cutting surface to determine size of cut
Set the tile along the cutting table at a 45º angle
NOTE: Top and bottom corners of tile should be aligned with the cutting blade
Hold tile firmly and slide it through the cutting blade, do not force the tile
3. Mitres
Set cutting table to desired angle
Set the tile on the tilted side of the table
NOTE: For internal mitre cut, set tile face up. For external, set tile face down
Hold tile firmly and slide it through the cutting blade, do not force the tile
4. Outlets & Sockets
Using a tile marker, outline the area of the tile to be cut
Remove cutting guide to work closer to the blade
Hold tile firmly over the cutting blade & score it from the back inside of the cutting area
5. Curves
External Radius
Cut away main excess & then rotate occasionally while cutting closer to the marked line. In order to smooth out the curve
Internal Radius
Cut away main excess and then make a series of thin cuts up to the marked line
Gently rotate the tile & break away strip & begin to smooth out the profile of the internal curve
6. Holes
Use a Vitrex Diamond Drill Bit for cutting holes in tiles
Safety Considerations
Always remember to cool diamond drills whilst drilling and use drill at low speed
Always wear Safety Goggles and Protective Gloves when cutting tiles