Using your new manual tile cutter
- 16 April 2024
- 0 Comment(s)
Using a manual tile cutter for first time can be a little daunting but fear not, we’ve put togther the following easy steps to get you steup and ready to take on your next tilling job…
Setting The Tile Cutter
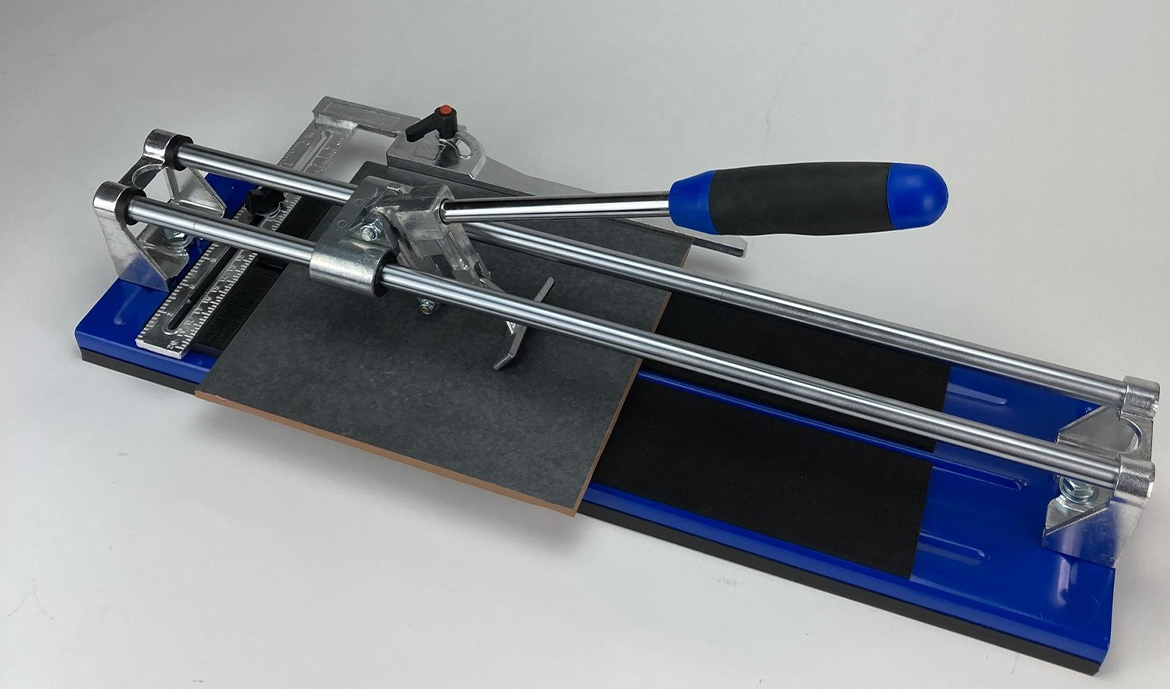
- Place the tile cutter on a flat surface.
- Fit the angle guide if supplied – Attach the angle guard to the top of the cutter, Tighten the knob/ screw to secure.
Straight Cuts
- Measure & mark a visible line along the length of the tile, note a tile scribe or tile pencil will come in useful here, check out our tiling accessories & spares page to pick one up.
- Once measured, Place the tile on to cutter bed, line up the mark with the centre point indicator.
- Lift up the scoring handle, check the cutting wheel is on the edge of the tile.
- Apply light pressure, push down the handle and score the full length of the tile.
NOTE: Score only once. - Once scored, position the breaker bar to sit on top of the tile.
Ensure the wheel is not in contact with the tile. - When the breaker bar is in place, apply pressure to the handle – excess force is not needed.
Angled Cuts
- Measure & mark a visible line along the length of the tile
- Position the guide to the required angle
- Repeat steps 5listed above for cutting.
Pro Tips
- Use a Tile File to smooth sharp edges
- For smaller cuts and shaping, use Tile Nippers
- After cutting is complete, clean the cutter to prolong its life