How to install LVT Flooring
- 16 April 2024
- 0 Comment(s)
Install your LVT Flooring like a professional
Plan & Prepare
- Acclimatize the plank or tile: LVT shrinks and expands as the temperature changes
- The planks or tiles must be left for 24-48 hours at room temperature before laying.
- Mix the planks or tiles: Every colourway has a unique design, this design will run across several planks or tiles.
- To ensure that you have a more natural look to your finished floor, always mix the planks or tiles from several packs before laying.
Clean the Floor
- Always ensure that the surface area is clean and free of any rubbish or debris.
Check the Substrate
- Using a spirit level or straight edge, check that the floor is level in both directions at random points across the floor.
- Measure the biggest gap and ensure it is no bigger than 5mm within a 3 metre or 10ft area.
Plan the Layout
To give you a sense of what the overall floor will look like, it is best to have a ‘dry run’, where you lay out a large number of planks or tiles. As LVT is lightweight, the boards can easily be moved around to give you the best overall effect.
Rooms are Never Square
Most rooms are not perfectly square, it is easy to notice planks and tiles that are cut on an angle. This is particularly obvious at doorways. To achieve a more professional finish, it is better to move the problem elsewhere within the room where its less visible.
Installation Tips
- Always leave a minimum of 6mm expansion gap between the plank or tile and the wall.
- Either use an expansion strip or spacer as a guide.
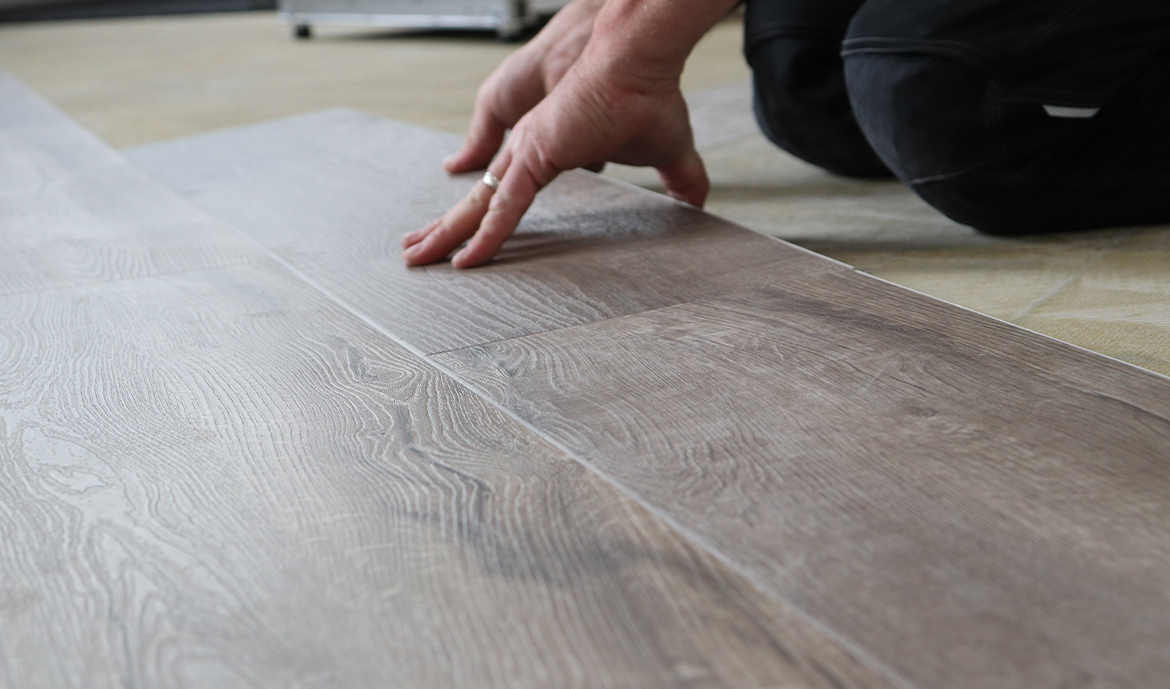
- Begin laying the first row, by working left to right with the groove facing towards you. Once you get to the end of the first row, use the offcut to start the new row for a more natural finish, ensuring the offcut is a minimum of 30cm.
- Assemble the first row and then click the next plank or tile into position. Always click the short edge in first and then the long edge at a small angle. All planks and tiles should be the same height and perfectly aligned. If required, tap the joints gently with a non marking rubber mallet to fully lock into place or use a tapping block.
Cutting
- Score the plank or tile with a concave bladed knife 2-3 times and then snap it.
- It is easier to snap the board on the edge of a table or worktop.
- As the planks and tiles have integrated underlay this will need cutting separately.
- A LVT cutter is another way of cutting LVT, this is a much faster method.